Showing posts with label bread. Show all posts

Butter Pecan Banana Bread


I'm always looking for ways to use ripe bananas.  How about you?  My girls love to have fresh banana bread for breakfast or a snack.  Being a working mom, I don't have time to spend hours in the kitchen.  This recipe is simple and tasty.  You will keep this one on hand for the next time those bananas are sitting on the counter needing to be used.
Makes 2 loaves


Ingredients:
1 butter pecan cake mix
3 very ripe bananas
1 stick butter, melted
3 eggs


Directions:
  1. Mash the bananas, mix in butter.
  2. Add cake mix and eggs, stir until well blended.
  3. Pour into greased loaf pans.  Bake at 350 degrees for 45 - 55 minutes, or until a toothpick inserted into the middle comes out clean.
  4. Let cool completely.  Removed from pan, slice, and serve.


Please stop on over to say hi!!


Thanks ~ Nichi

I like linking my posts to THESE GREAT PARTIES!!!!
 

Monster Cinnamon Roll


This simple creation was my Saturday morning breakfast a few weeks ago.  My girls wanted to make something that was easy, quick, and delicious.  Who can turn down a cinnamon roll?  Especially a monster one that makes your house smell amazing!!

Ingredients:
1 can (8 count) refrigerated cinnamon rolls with frosting packet
parchment paper
cooking spray
pie plate

Directions:
1.  Place 1 cinnamon roll in middle of parchment paper lined and sprayed pie plate. 
2.  Unroll other cinnamon rolls and use dough to spiral around center until all dough is used. 
3.  Bake at 400 degrees for 12 - 15 minutes.
4.  Frost and serve.

Source: a Mandatory Mooch original

I like linking my posts to THESE GREAT PARTIES!!!! 


Please stop on over to say hi!!


Thanks ~ Nichi

Monkey Bread Mini Loaves


My sweet grandma used to make monkey bread for us growing up.  There was nothing like the smell of warm cinnamon filling her kitchen.  We couldn't wait to pull it into pieces and devour the warm gooey deliciousness.

I decided to create a recipe that could be made into smaller loaves for individual servings.  This will help with any kids fighting over the middle pieces.  They will have plenty of their own.  Enjoy the smell in your own kitchen!

Ingredients:
2 small tubes of buttermilk biscuits
1/2 c. sugar
1/2 tsp. cinnamon

Topping:
3/4 c. sugar
1/2 tsp. cinnamon
1 stick butter, melted

Directions:

  1. Mix sugar and cinnamon and pour into a sandwich bag or small bowl.
  2. Cut each biscuit into fourths and shake in cinnamon and sugar mixure.
  3. Place biscuit pieces evenly into 6 mini loaves of your pan.
  4. Mix topping ingredients together and pour evenly over loaves, saving a little for after baking.
  5. Bake at 350 degrees for 25 - 30 minutes, until browned on top.
  6. Remove immediately from pan and top with remaining topping mix.


I like linking my posts to THESE GREAT PARTIES!!!! 


Please stop on over to say hi!!


Thanks ~ Nichi

2nd Day of Christmas - Buttery Crescent Rolls


Brought to you by:

A Handful of EverythingLove Bakes Good Cakes  Lady Behind the Curtain  Cooking for the 7 Dwarfs  Everyday Insanity  photo 125X125PartyHatButton_zpsf3d5c052.pngAnyonita Nibbles  Yesterfood Joybee, What's for Dinner? 

On the 2nd Day of Bloggy Christmas Miss Joy Bee gave to me easy Soft and Buttery Crescent Rolls!

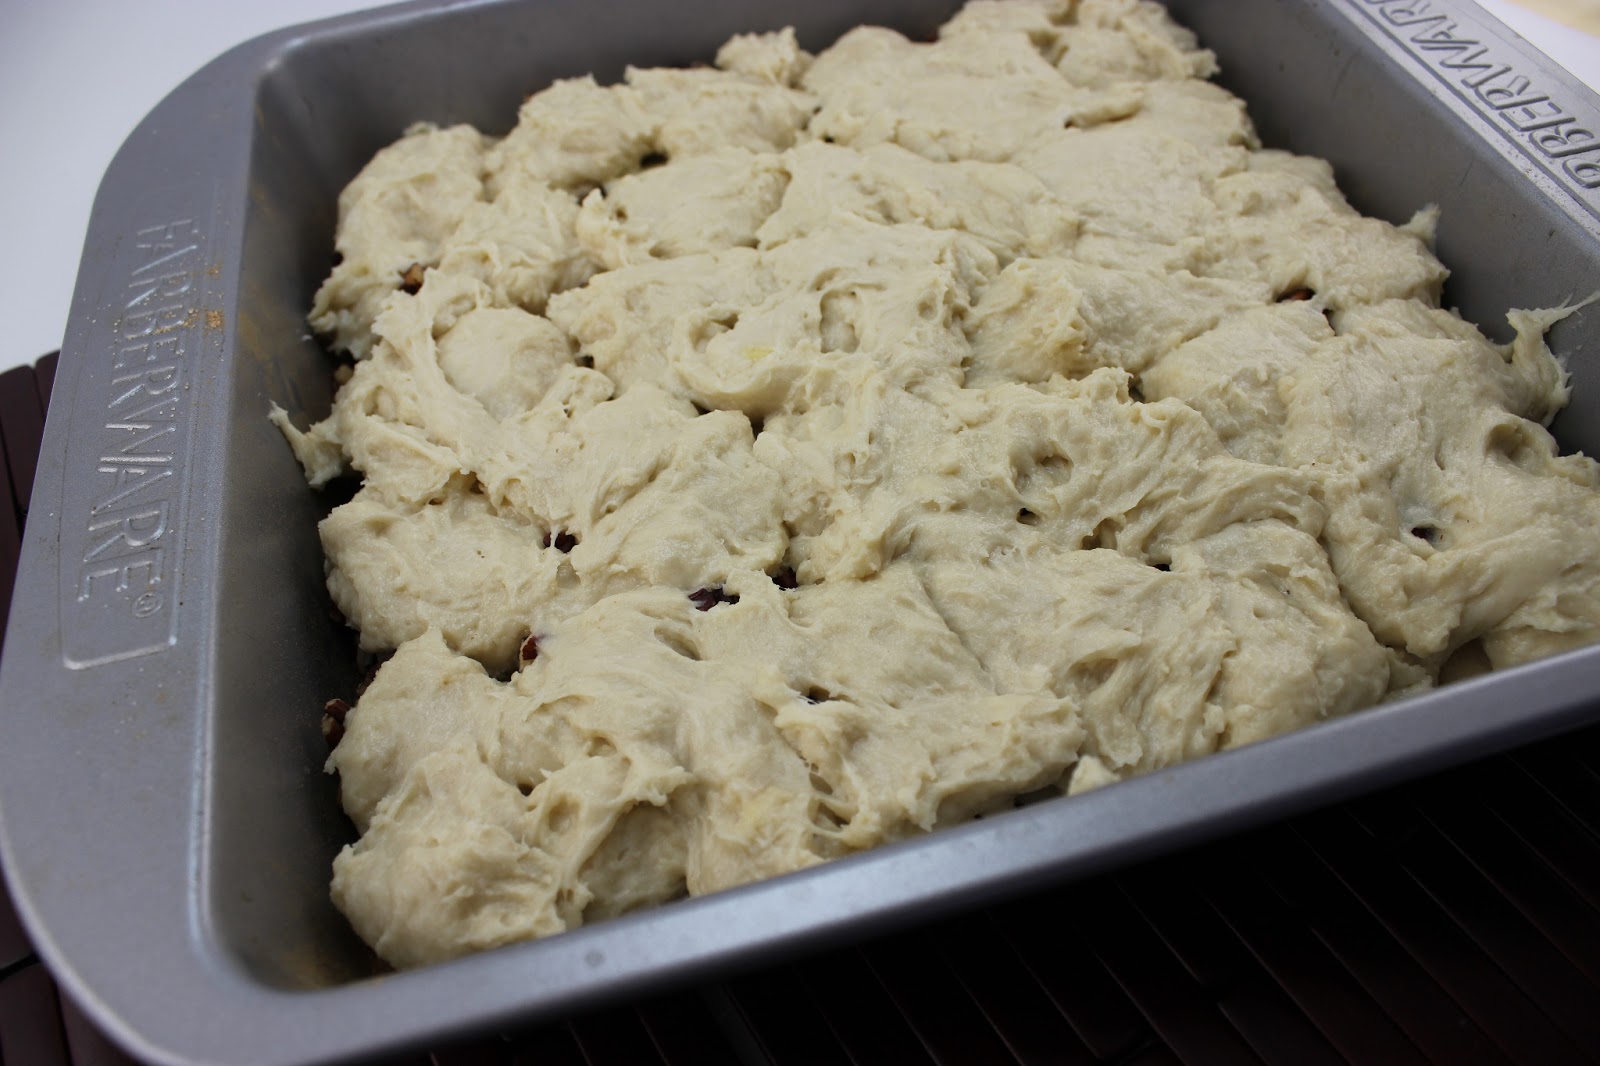
Refrigerated dough ready to roll and bake into soft and buttery crescent rolls.


Crescent rolls are great holiday tradition.  The dough is very versatile and can be used not only as rolls but in many other recipes too.  I love crescent rolls but I'm very suborn too.  I don't like to buy bread products if I can make them myself.  These rolls use yeast instead of baking powder so they are more bread like than biscuit like, and take longer.  It may take longer to make but a little time spent and you can have crescent rolls to store up to 3 months in your freezer.  Then they are ready to thaw, roll, and bake at your convenience. And they taste great with out any strange ingredients.


Ingredients:

224g luke warm water (1 cup)
6g active dry yeast (2 1/4 tsp)
22g sugar (1 1/2 Tbsp)
23g dry milk (1/3 cup)
508g bread flour (4 cups)
2 eggs
6g salt (1 tsp)
57g butter (4 Tbsp)


Pour the warm water (about 100 degrees F) in the bowl of a stand mixer.  Sprinkle on the yeast and then the sugar and let sit for about 15 minutes until frothy.

Once the yeast is active add the dry milk, flour, eggs, salt, and butter.  Stir on low speed with the paddle attachment until ingredients form a ball.


Switch to the dough hook and knead for 8-10 minutes until the dough is soft, supple, and elastic.  It should be tacky but not sticky (it should not stick to your finger when you poke it and should pull away from the sides of the bowl but it may stick to the bottom a little)  You may need to add more flour to reach this consistency.  

Place the dough in a lightly oiled bowl, rolling to coat it all over.  Cover with plastic wrap and allow to rise for 1-2 hours until doubled in size.

Turn out the risen dough and divide into 4 equal pieces.  Shape each piece into a ball and cover and let rest for 10-15 minutes.


Meanwhile, cut 4 pieces of parchment paper into roughly 9 by 13 inch rectangles.

On a sheet of parchment, roll out one ball of dough to about the size of a sheet of paper (8x11 inches) or at least an 8 inch circle or more of an oval.


Cut the rolled dough into 8 triangles (like a pizza).  Then roll the parchment and dough into a cylinder and place in a large freezer bag.  Repeat with all of the dough balls (put the rolled and bagged dough in the fridge while rolling the rest).  The dough can stay in the refrigerator for up to a week or freeze for up to 3 months.


If your crescent rolls are frozen thaw over night in the refrigerator.  Remove dough from the refrigerator, unroll the dough and parchment and brush the top of the dough with butter.

Roll each triangle starting at the wide end and ending at the pointy end.  Curve the rolls into a crescent shape and place the roll with the pointy end down on a baking sheet.  Repeat with all triangles. Then cover with plastic wrap and allow to rise until almost doubled in size (it may take about 1 or 2 hours to warm up out of the fridge or quicker in a warm spot).  If you are making rolls immediately (not freezing or refrigerating) it only take 20 minutes.


Meanwhile preheat the oven to 400F.

Bake the rolls for 14-18 minutes until golden brown.

Serve with any meal and enjoy.


Jalapeno Mac Corn Bread - Mac N' Cheese to the Rescue Review and Giveaway


My kids love mac n' cheese.  It is a simple quick dinner that they never turn away.  So, when I got the chance to review the new cookbook Mac N Cheese to the Rescue by Kristen Kuchar I was thrilled!  I can use mac n' cheese in other recipes?  I had to check this out. 

I'm lucky enough to give away a copy of this great recipe book too.  Enter below for your chance to win!!

a Rafflecopter giveaway
This book is full of is full of 101 recipes that use leftover or box mac n' cheese.  The author transforms this normal pantry item into amazing new recipes.  This Jalapeno Mac Corn Bread was the first of many recipes that I will be trying.  It is a moist and slightly spicy dish that will tempt the tastebuds of anyone that loves Mexican food in your house.


Ingredients:
1 (16 oz.) box package corn bread
1/4 c. finely minced and seeded jalapeno
1 1/2 c. shredded cheddar cheese
1 c. leftover cooked mac n' cheese
1/4 c. chopped scallions or chives


1.  Preheat the oven to 350 degrees.  In a large bowl, prepare the corn bread mix batter as directed.  Add in the jalapeno, cheese, mac n' cheese, and scallions, stirring well until combined.


2.  Transfer to a 9 x 13 in. baking dish and bake for 25-30 minutes.

source:  "mooched" and adapted from Mac N Cheese to the Rescue by Kristen Kuchar

Some of my other blogger friends have also reviewed this book.  Go see there reviews and recipes here:
Kate of Osito made Carolina Pulled Pork 
Carrie from Quite Carried Away made Amore Mac 
Susie from SusieQTpies Cafe made Southern Fried Chicken Mac N' Cheese

This post is linked up to THESE GREAT PARTIES!!!! 

Please stop on over to say hi on Facebook, Pinterest, or Twitter.  
Thanks ~ Nichi


Cinnamon Roll Crescents


These are a quick and easy breakfast treat that my kids love.  They ask for them all the time.  With only a few ingredients, they are the perfect way to start your morning when you don't have a lot of time.  Or you have super hungry kids begging you for something tasty.

Ingredients:
1 pkg. crescent rolls
1/3 c. sugar
1/2 tsp. cinnamon

Glaze:
1/2 c. powdered sugar
1 Tbsp. milk
1/4 tsp. vanilla

1.  Mix cinnamon and sugar together in a small bowl.
2.  Unroll crescents and spoon one Tbsp. of mixture on top.  Roll up from wide end to small end.  Sprinkle with more cinnamon and sugar mixture.
3.  Place on parchment paper lined (or lightly greased) cookie sheet.  Bake at 375 degrees for 12 minutes.
4.  Mix together glaze ingredients and drizzle on top of crescents.


This post is linked up to THESE GREAT PARTIES!!!! 

Please stop on over to say hi on Facebook and Pinterest

Thanks ~ Nichi

Guest Post - Apple Bread by Deb from Cooking on the Front Burner

Happy Monday!  I'm Deb and today I am happy to have a guest post with Nichi at The Mandatory Mooch... Thanks for having me!  I've been blogging for 2 years and in fact this week is my 2 year anniversary.  Come back on February 13th to join in my giveaway.

Featured today is a blast from the past when The DIY Guy was a wee lad.  This is his mom's recipe and I've made it a few times over our almost 30 years together! What I like about this recipe is that it comes together quite quick - the longest part is waiting for the dough to rise but after it bakes and comes out of the oven - you don't need to wait long to eat it.  It is best served warm and the cinnamon and apple aroma will have people running into your kitchen pronto!

Recipe Source:  Family Fav
(printable recipe)

The first step is placing melted butter, cinnamon and sugar in a 9x9 plan.  Next place thinly sliced apples and pecans (or you could use walnuts, raisins or craisins) on top.


The dough is mixed a a bowl and then dropped by small spoonfuls onto the above mixture.  Since the dough is...well a dough... you will need to probably use your hands to make sure it is evenly distributed. It is OK to have some dough not touching as below - when it rises those spaces will get filled up.


Once it is covered and rises for about an hour, it is baked at 375 for 30-35 minutes until it is golden brown.  Remove from oven and immediately flip onto a square platter.


Let cool slightly then slice up and enjoy!


If you have leftovers (you might not!), just place in the microwave and warm up a bit.

I hope you enjoy this recipe and if you give it try, let me know - I would love to hear what you think!

If you are reading this from Nichi's, I hope you will stop by to see me!
Deb - Cooking On The Front Burner