Showing posts with label birthday. Show all posts

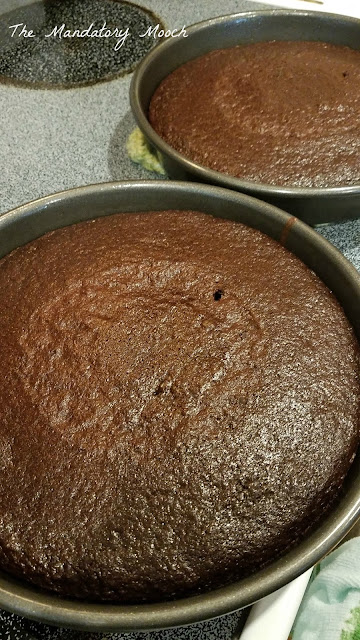
The Best Gluten Free Chocolate Cake Mix - Jessica's Natural Foods


I've been making birthday cakes for my girls since they were born.  Each year is a new theme to go along with their age.  This year was a little trickier than usual.  You see, my oldest daughter has been gluten free since last summer.  

Trying to find a good gluten free cake recipe or mix has been a struggle...UNTIL NOW!!

I found the most amazing cake mix and just had to share with you.  It is Jessica's Natural Foods chocolate cake mix.  My whole family was in denial that it was gluten free after tasting it.  It is a moist rich cake with no gritty after taste.  The smile on my daughter's face was priceless when she tried it.  We will be using this product for many events in the future.  Plus, I sliced the leftover cake and froze it individually for her to eat later.  Perfection!!  So, if you need a gluten free cake mix or treat, give this one a try.  You won't be disappointed.


I made her a video/movie themed cake because she has been interested in that field lately.  It was fun to create something she loved and something she could eat!


 Thanks ~ Nichi

 I like linking my posts to THESE GREAT PARTIES!!!!


Mermaid Cake

This adorable cake was created for my niece's birthday.  She asked for a mermaid cake and many ideas ran through my head.  I wanted to do something different, something cute and whimsical.  This is what I came up with.  Using the cake as the base for a mermaid swimming through it was perfect.  Making it happen was a bit of a challenge.

I started with fondant and created the mermaid face and arms.  Then, I made all of the fun plants to  surround the cake.  The flowers are candy that I found in the cake decorating aisle at a local hobby store.  The tail was the biggest obstacle, but came out great.  I created the tail by wrapping fondant around a mini red solo cup (the shot glass size).  The fins were attached with toothpicks.  Doesn't this cake just make you smile?!?!


 Thanks ~ Nichi

 I like linking my posts to THESE GREAT PARTIES!!!!

Batman Cake

Do you have a little superhero having a birthday?  This cake is a fun explosion of bats, color, and fun.  I melted black and yellow candy melts and piped them into decorations for the cake.  Add sprinkles and batman picks from my Silhouette machine and ta-da...a tasty centerpiece of the party.

Supplies used:
parchment paper
black and yellow candy melts
Batman and bat cutouts from Silhouette glued on bamboo skewers
black and yellow sprinkles

 Thanks ~ Nichi


I like linking my posts to THESE GREAT PARTIES!!!!

Luau Themed Birthday Party

April in the Midwest can be rainy or very nice, just depends on the day.  We had planned on having an outdoor birthday party for my daughter.  However, the weather had a different idea.  It rained the ENTIRE day!!  So, what did we do?  

Well, with the help of terrific luau decorations from Oriental Trading, 
we brought the party indoors.  
Check out all of the fun items to throw your own tropical party!!

Colorful leis were hung on the banister for guests to wear as they arrived.

ALOHA surfboards were a great colorful addition to our windows.

A beachy tablecloth and centerpieces covered the table.

A tropical garland was hung above the table.


Beach themed cupcakes were made with cocktail parasols and brown sugar for a sand effect.


Candy turtles were made from candy melts and a turtle candy mold.  

Added them to a bowl of brown sugar to look like sand.

The cake was decorated with centerpieces, turtles, and more brown sugar.  

Who says you can't have a fun party in the rain?!?!?!


If you are looking for more great ideas and supplies go to Oriental Trading.  
There are so many items to choose from.  

**Oriental Trading sent me products for this post.  All opinions are my own.


Thanks ~ Nichi


I like linking my posts to THESE GREAT PARTIES!!!!

Build-A-Bear Cake

 
When my daughter turned 7 we had her party at Build-A-Bear.  Along with a big group of friends, they each picked out a bear or animal of their choice to create.  After stuffing, fluffing, and naming their new friend, we went to the food court for cake to celebrate.  To go along with the theme, I created this fun cake.

I frosted the outside of the cake with vanilla buttercream tinted purple.  

The turquoise accents were also buttercream.  
I used a #21 decorating tip to created the star shapes

The rhinestone ribbon I found at my local Hobby Lobby.  You can find it HERE.

The bear was created out of fondant.  
I started with a box of Wilton pre-made fondant and tinted it the colors I needed.

I hope you enjoy this cake and wish you and your kiddos many fun celebrations!


Please stop on over to say hi!!


Thanks ~ Nichi

I like linking my posts to THESE GREAT PARTIES!!!!

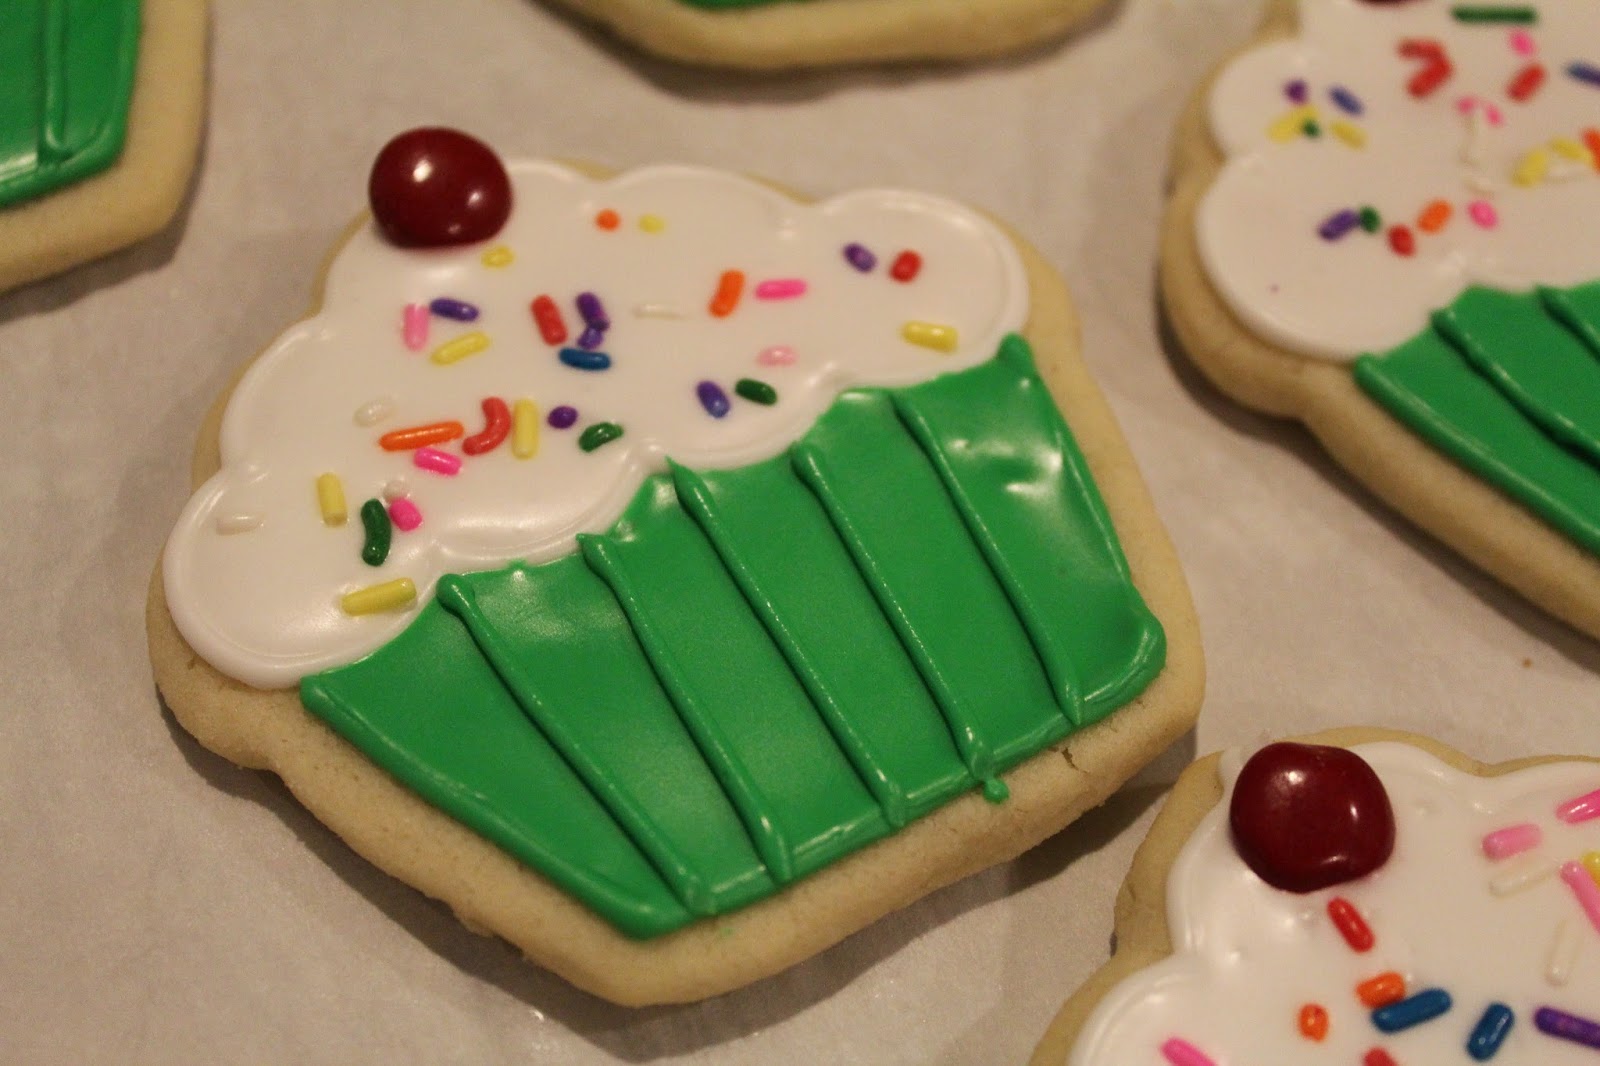
Cupcake Shaped Decorated Cookies

I have a confession to make.  One of my goals for this winter was to learn to make decorated cookies.  Now that winter is soon coming to an end and March is quickly approaching, I pressured myself to learn quickly.  What's my confession?  I like to procrastinate.  Yep, you heard it.  I always have.  I seem to do my best work under pressure.  Even in college, I would wait until the last minute to write a paper or study for a test.  Worked then, and it is still working.  I waited until spring was knocking on my door to complete this goal.  I have a long way to go, but I'm very happy with my beginning cookie projects.

I really had to step out of my comfort zone on these cookies.  Normally I stick to cake decorating and things that I can predict a little better.  But once I started working with these treats I was hooked.  So, next time you have a recipe or project that you are unsure about...just give it a try.  I was amazed at how easy the dough was to prepare.   You don't even have to chill it.  You heard me!!  No chilling!!  It is ready to use straight from the mixer.  Another plus, they only bake for 6 minutes.  I just knew that cookie decorating was going to take too long for my liking.  But I was wrong.  I'm an instant gratification kind of person.  No patience for projects or learning new things.  I want them to be perfect the first time.  I'm trying to be a more patient and prepared person.  I'm getting there, but got a ways to go.  These cookies and decorating techniques exceeded my expectations and calmed my perfectionism.

Supplies:
Roll-out cookie recipe from Wilton
Royal icing recipe from Wilton
Wilton cupcake cookie cutter
Wilton #3 decorating tips 
Wilton couplers
Wilton decorating bags
M&M's for the cherries
Sprinkles

Directions:
  1. Prepare dough as directed in recipe.  Roll out on a floured surface.  Cut out with cookie cutter.  Place on a cookie sheet.  (I prefer to line my cookie sheets with parchment paper.)
  2. Bake at 350 degrees for 6 minutes.  They won't look done, but will cool to be soft buttery cookie.  Let cool completely before decorating.
  3. Prepare icing as directed in recipe.  I tend to add an extra tsp. of water to thin the icing a bit.  
  4. Separate icing into bowls for coloring.  Add appropriate color to each, mix thoroughly.  Spoon half of each color into a piping bag prepared with #3 decorating tip.       
Pipe white icing onto cookie as an outline.

Thin icing left in bowl with another tsp. of water.  After the outline has dried, spoon the icing onto the cookie and fill in the white outline.  You can also use a toothpick to help get into tight spots.  Top with M&Ms and sprinkles.

Create an outline with the other icings to form the cupcake liner part of the cookie.

Thin icing left in bowl with another tsp. of water.  After the outline has dried, spoon the icing onto the cookie and fill in the outline.


Once this has dried, you can pipe the lines on top.


Let dry completely before stacking.  I found it best to bag them separately or put in a large sealed container overnight before stacking.  The cookie will dry out and frosting will become very hard if left out overnight.


Source: A Mandatory Mooch original 
Please stop on over to say hi!!


Thanks ~ Nichi

I like linking my posts to THESE GREAT PARTIES!!!!

Ice Cream Cone Cupcakes


I have always wanted to make these fun cupcakes.  I have fond memories of my mom making them for my 4th grade birthday party at school.  Why has it taken me so long to make them myself?  They are simple, yet fun for everyone!

Ingredients:
cake mix of your choice
ingredients for cake as indicated on cake mix box
ice cream cones
vanilla buttercream frosting (recipe HERE)
sprinkles and red hots, or decor of your choice

Directions:
  1. Prepare cake mix according to box.
  2. Stand cones in muffin pan.  Fill 1/2 way up with batter.  Carefully put into oven.
  3. Bake at time and temperature shown on cake mix box for cupcakes.
  4. Cool completely, frost, and decorate.

 Please stop on over to say hi!!


Thanks ~ Nichi

I like linking my posts to THESE GREAT PARTIES!!!!